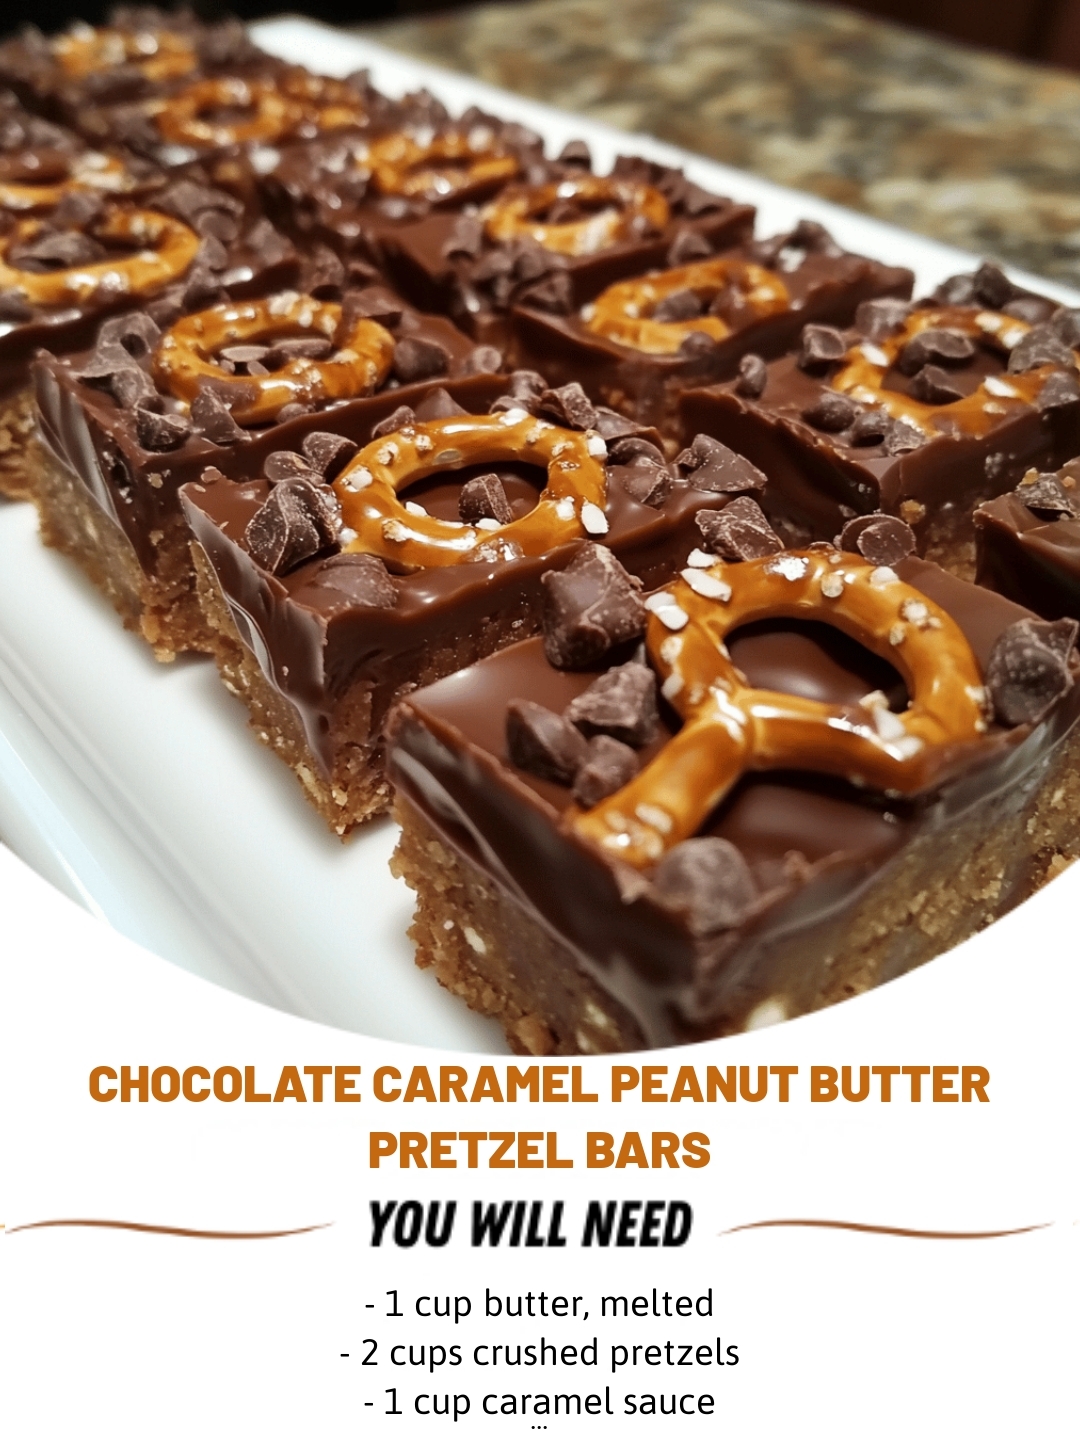
Chocolate Caramel Peanut Butter Pretzel Bars
Indulge in the perfect combination of sweet, salty, and crunchy with these Chocolate Caramel Peanut Butter Pretzel Bars!
Ingredients:
- 1 cup butter, melted
- 2 cups crushed pretzels
- 1 cup caramel sauce
- 1 cup creamy peanut butter
- 2 cups chocolate chips
- 1 cup chopped peanuts
Instructions:
- Preheat oven to 350°F and line a 9×13-inch baking dish with parchment paper.
- In a bowl, combine melted butter and crushed pretzels. Press into the bottom of the prepared baking dish.
- Pour caramel sauce over the pretzel crust, then dollop peanut butter on top.
- Sprinkle chocolate chips and chopped peanuts over the peanut butter.
- Bake for 25-30 minutes, until chocolate is melted and bubbly.
- Allow to cool before cutting into bars.
Popular questions:
- Can I use crunchy peanut butter instead of creamy?
- Can I use store-bought caramel sauce?
- Can I substitute almonds for peanuts?
- How long do these bars last?
- Can I freeze these bars?
Yes, you can use crunchy peanut butter for added texture.
Yes, store-bought caramel sauce works just as well as homemade.
Yes, you can use almonds instead of peanuts for a different flavor profile.
These bars can be kept in an airtight container for up to a week.
Yes, these bars can be frozen for up to 3 months.
Helpful tips:
- Try adding a sprinkle of sea salt on top for extra flavor.
- Drizzle melted chocolate on top for a decorative touch.
- Experiment with different types of chocolate chips for variety.
- Make a larger batch and share with friends and family.
- Store in the fridge for a chilled treat on hot days.
Expert secrets:
- Ensure the pretzel crust is firmly pressed down for a solid base.
- Use high-quality chocolate for the best flavor.
- Warm the caramel sauce slightly for easier spreading.
- Toast the peanuts for added depth of flavor.
- Cut the bars with a sharp knife for clean edges.