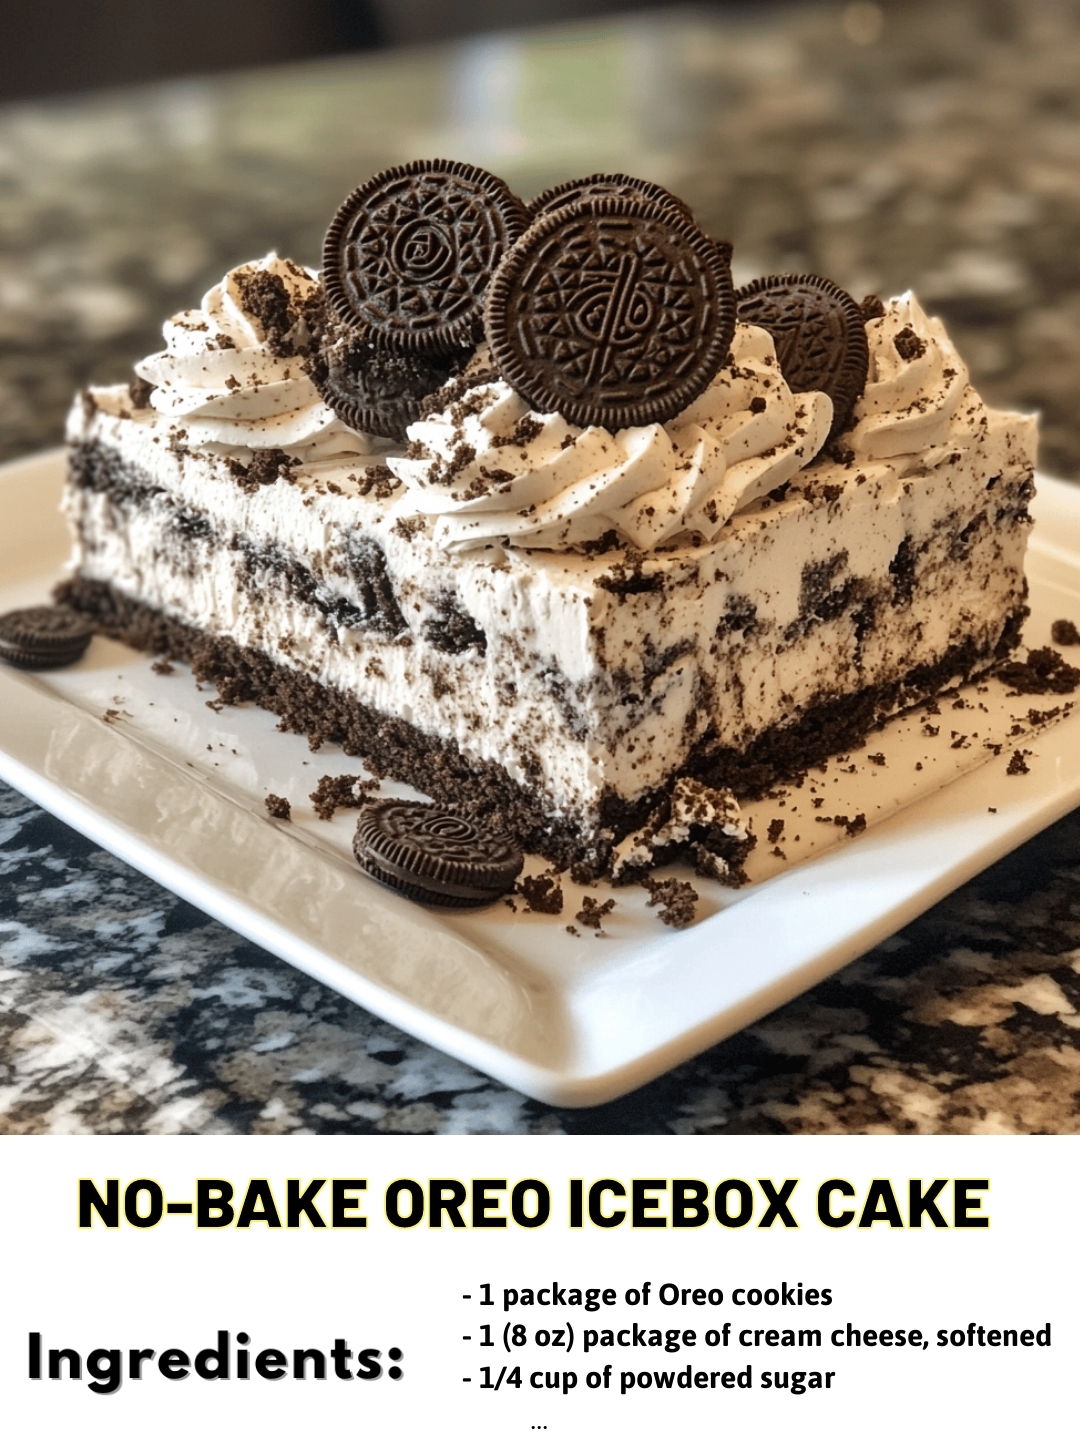
No-Bake Oreo Icebox Cake
Looking for a delicious and easy dessert recipe that will surely impress your family and friends? This No-Bake Oreo Icebox Cake is a perfect treat for any occasion!
Ingredients:
- 1 package of Oreo cookies
- 1 (8 oz) package of cream cheese, softened
- 1/4 cup of powdered sugar
- 1 tsp of vanilla extract
- 1 (8 oz) container of cool whip
Instructions:
- Crush the Oreo cookies in a ziplock bag until they are crumbled.
- In a mixing bowl, combine the cream cheese, powdered sugar, and vanilla extract until smooth.
- Fold in the cool whip until well combined.
- Layer the bottom of a 9×13 inch baking dish with a thin layer of the cream cheese mixture.
- Sprinkle a layer of crushed Oreo cookies on top.
- Continue layering the cream cheese mixture and crushed Oreos until all ingredients are used up.
- Cover the dish with plastic wrap and refrigerate for at least 4 hours or overnight.
- Serve chilled and enjoy!
Nutrition Information:
- Calories: 300
- Total Fat: 15g
- Saturated Fat: 8g
- Cholesterol: 30mg
- Sodium: 200mg
- Total Carbohydrates: 40g
- Dietary Fiber: 1g
- Sugars: 28g
- Protein: 3g
Indulge in this decadent No-Bake Oreo Icebox Cake and satisfy your sweet cravings in no time! #OreoIceboxCake #DessertRecipe #NoBakeTreats
Popular questions:
- Can I use low-fat cream cheese in this recipe?
- Can I use homemade whipped cream instead of cool whip?
- Can I add other mix-ins to this cake?
- How long will this cake last in the refrigerator?
- Can I make this cake ahead of time?
- Can I use gluten-free Oreo cookies for this recipe?
- Can I freeze this cake?
- Can I use flavored Oreo cookies for this recipe?
- Can I make individual servings of this cake?
- Can I add a layer of chocolate ganache to this cake?
Yes, you can use low-fat cream cheese for a lighter version of this dessert.
Yes, you can substitute homemade whipped cream for cool whip if desired.
Feel free to customize this dessert with additional mix-ins like chocolate chips or nuts.
This cake can be stored in the refrigerator for up to 3-4 days.
Yes, this cake can be made a day in advance and stored in the refrigerator until ready to serve.
Yes, you can use gluten-free Oreo cookies to make this dessert gluten-free.
This cake is best enjoyed fresh but can be frozen for up to a month in an airtight container.
Feel free to experiment with different flavored Oreo cookies for a unique twist on this classic dessert.
You can make individual servings of this cake by layering the ingredients in small containers.
You can drizzle chocolate ganache on top of this cake for an extra decadent touch.
Helpful tips:
- Try adding a layer of caramel or fudge sauce between the cream cheese and Oreo layers for extra indulgence.
- Sprinkle crushed Oreos on top of the cake before serving for a decorative touch.
- For a twist, try using mint or peanut butter Oreo cookies in this recipe.
- Let the cake sit at room temperature for a few minutes before serving to soften slightly for easier slicing.
- Top with fresh berries or chopped nuts for a pop of color and added texture.
- Experiment with different flavored extracts like almond or coconut for a unique flavor profile.
- For a lighter version, use reduced-fat Oreo cookies and light cream cheese in the recipe.
- Store leftovers tightly covered in the refrigerator to maintain freshness.
- Get creative with your layering by alternating between different flavors of Oreo cookies.
- Serve this cake with a scoop of vanilla ice cream for a delicious dessert duo.
Expert Secrets:
- Allow the cake to chill for at least 4 hours for the flavors to meld together perfectly.
- Use a spatula to spread the cream cheese mixture evenly in between each layer for a uniform finish.
- Crush the Oreo cookies into both fine crumbs and larger chunks for a varied texture in the cake.
- For a smoother texture, make sure the cream cheese is fully softened before mixing with the other ingredients.
- Add a touch of instant coffee to the cream cheese mixture for a subtle mocha flavor.
- Experiment with different types of cookies like graham crackers or chocolate wafers for a unique twist on this recipe.
- Dust the top of the cake with cocoa powder or crushed Oreos for an extra layer of flavor and decoration.
- For a festive touch, top the cake with colorful sprinkles or edible glitter before serving.
- Keep the cake covered in the refrigerator until ready to serve to prevent it from drying out.
- Don’t be afraid to get creative with the presentation by using cookie cutters to make fun shapes with the cake.